Adding a Flagstone Walk
April 17, 2012 by Paris and John
Filed under Around the House
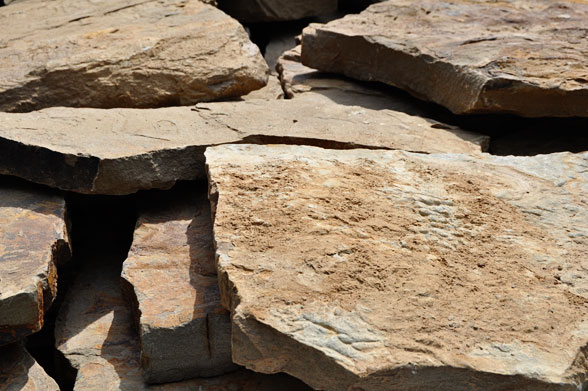
In yesterday’s post, we told you about our trip to select the flagstones for our new walkway…and today it’s time to see the work it took to reach the finished project!
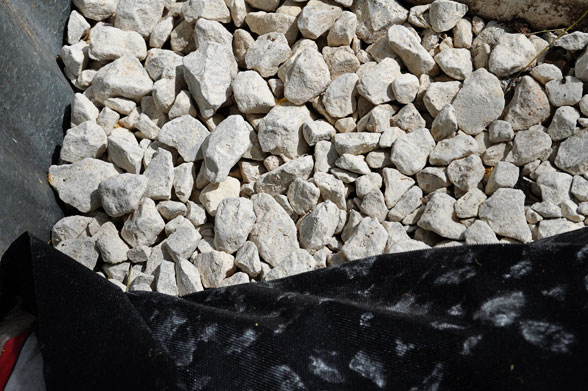
Since we already had a walk of gravel, the first (and probably the biggest) job was to remove the existing gravel. Once that was done, in went a layer of one-inch gravel that will allow drainage. (The old gravel was much smaller.) As soon as that layer was down, a sheet of landscaping cloth went in next. This will prevent the next layer–the sand–from working its way into the gravel. Once the landscaping cloth was put down, it was stapled in place.
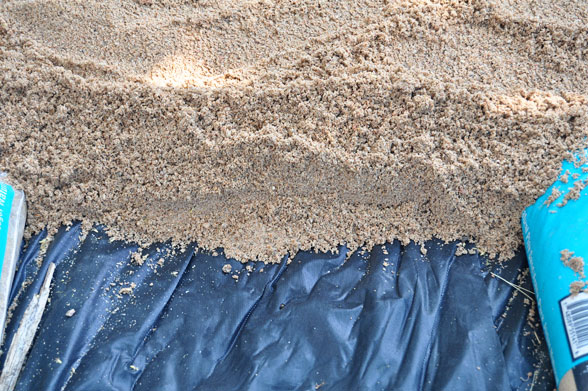
Next came the sand (we used the same kind you buy for a sandbox)…
It went right on top of the landscape cloth.
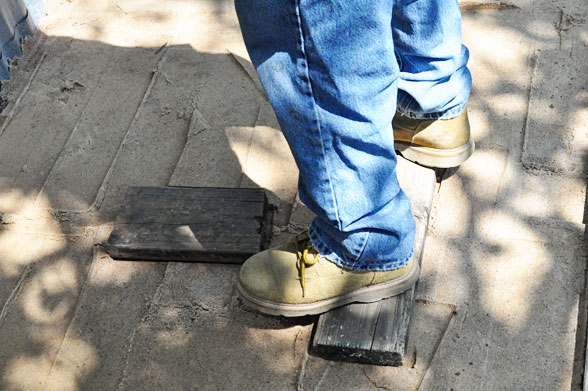
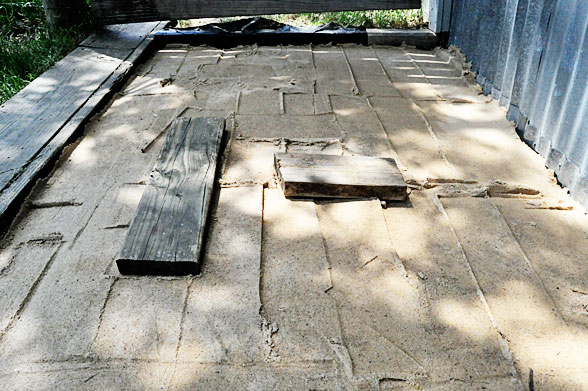
Once the sand was in place, John used a flat board to tamp the sand and pack it into place.
It only took a few minutes but, with the flattening of the sand, the project was already starting to take shape!
Next, it was time to start placing the stones!
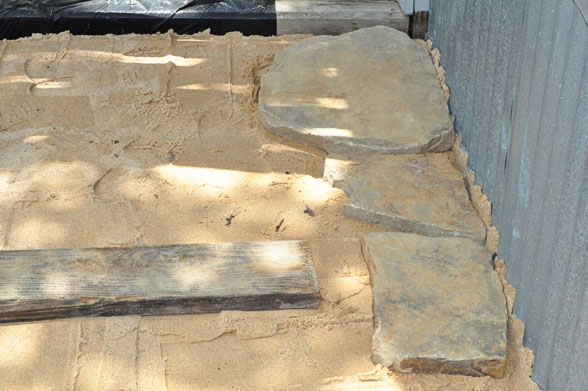
This was definitely the fun part! (Actually it was SO much fun, I put the camera down and got busy putting the stones together…it’s like a big jigsaw puzzle!)
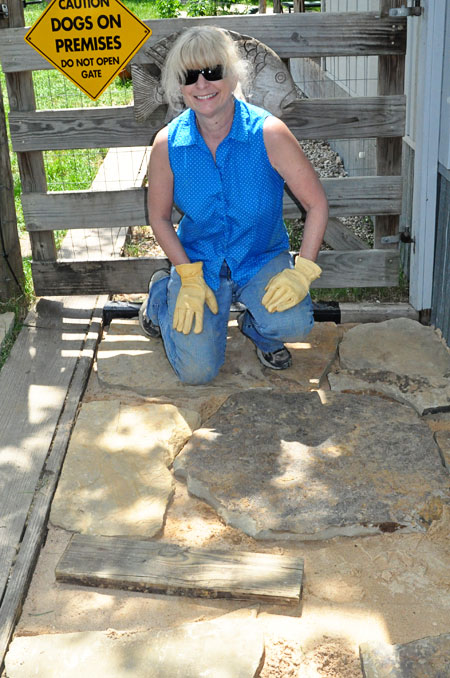
Once the stones were in place, John poured sand between the stones and tamped it into place. Once all the sand settles, we’ll add crushed granite between the stones.
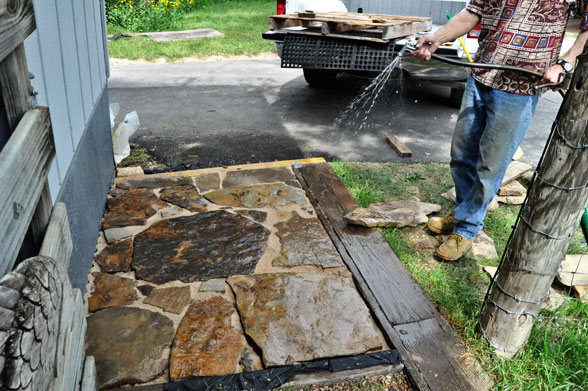
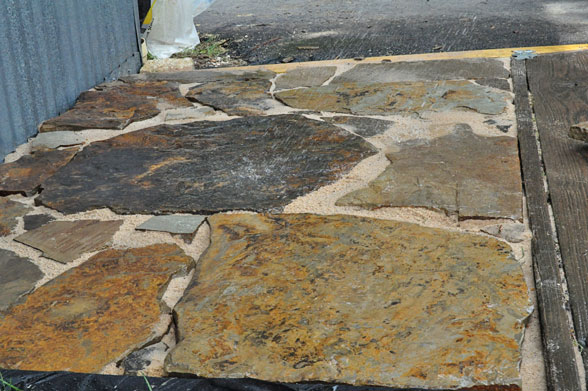
When we washed it down, the beauty of the Oklahoma Chocolate Gold flagstones was apparent…
The stone has many different colors and variations within each stone. The walk looks great!

